honeywell electronic door lock manual
Category : Manuals
Honeywell Electronic Door Lock Manual⁚ A Comprehensive Guide
This comprehensive guide provides detailed instructions for installing, programming, and troubleshooting your Honeywell electronic door lock. Learn about key features, user code management, and essential maintenance procedures to ensure optimal security and functionality. Explore FAQs and contact information for additional support.
Understanding Your Honeywell Electronic Door Lock Model
Before beginning installation or troubleshooting, accurately identify your specific Honeywell electronic door lock model. This information is crucial for accessing the correct manual and understanding the unique features and functionalities of your device. The model number is usually found on a label located on the lock’s interior or exterior. Carefully examine this label for alphanumeric characters that specifically identify your lock’s model. This model number will be essential when searching for online support resources, including troubleshooting guides and frequently asked questions (FAQs). Note that different models may have variations in their features, programming procedures, and keypad layouts. Referencing the correct model number ensures you consult the appropriate instructions and avoid potential errors during setup or operation. Understanding your model is the first step towards successful installation and ongoing use of your Honeywell electronic door lock.
Identifying Key Components and Features
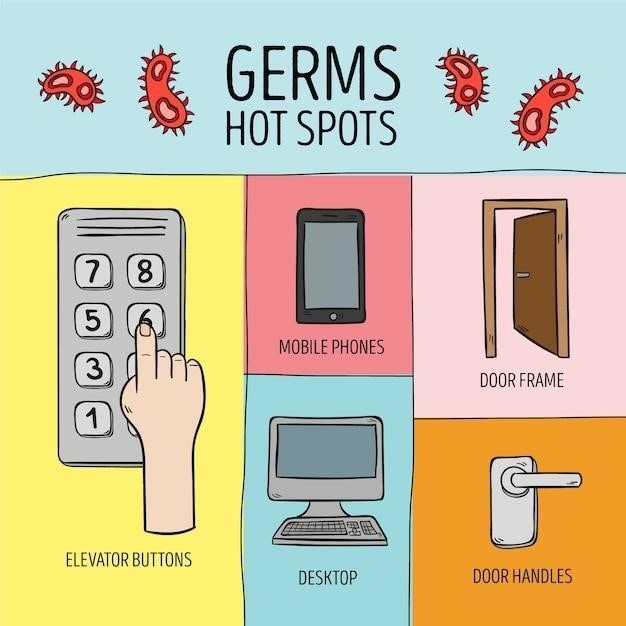
Familiarize yourself with the key components of your Honeywell electronic door lock. This includes the keypad, which allows for code entry and lock/unlock functions; the interior and exterior handles or knobs, used for manual operation; and the LED indicator lights, providing feedback on various actions and statuses. Many models feature a touchscreen display for enhanced user interaction and easier code entry, particularly in low-light conditions. Some advanced models incorporate features like auto-locking functionality, programmable user codes for multiple users with different access levels, and even keypads with backlit displays for improved visibility. Understand the function of each component to effectively operate and troubleshoot the lock. Locate the battery compartment, typically on the interior, for future battery replacements. Identify any additional components or features specific to your model, as described in the model-specific installation guide. Understanding these components is crucial for efficient operation and maintenance of your Honeywell electronic door lock.
Installation Procedures⁚ A Step-by-Step Guide
Before beginning installation, carefully review all instructions and ensure you have all necessary tools and components. Start by preparing the door; this may involve removing existing hardware. Precise measurements are crucial for accurate placement of the lock components. Follow the provided template to mark the correct positions for drilling pilot holes. Carefully drill the holes, ensuring they are the correct size and depth to avoid damaging the door. Next, install the strike plate on the door frame, making sure it aligns properly with the latchbolt. Attach the interior and exterior components of the lock to the door, securing them firmly with the provided screws. Connect the wiring harness, if applicable, ensuring all connections are secure and correctly aligned with the provided schematic. Test the lock’s functionality using the keypad and interior knob. Check for proper latching and unlocking, ensuring smooth operation. After testing the functionality, securely mount the exterior keypad cover. Finally, test all features, including user codes and any additional functionalities such as auto-locking. Refer to the model-specific instructions for detailed guidance and illustrations.
Programming User Codes and Access Levels
Your Honeywell electronic lock likely allows for multiple user codes, each with potentially different access levels. Consult your specific model’s manual for detailed instructions, as programming procedures vary. Generally, you’ll need to enter a master code or administrator code to access the programming menu. Once in the programming mode, the process usually involves selecting the “add user” or similar option. The system will then prompt you to create a unique user code, typically 4-6 digits. Some models may allow for setting individual access times or days for each code, providing granular control over access permissions. After entering the new code, confirm it to save the settings. You can repeat this process to add more user codes. To delete a user code, you’ll usually need to select the “delete user” option and then choose the specific code you wish to remove; Always remember your master code, as this is essential for future programming changes. If you forget your master code, you might need to reset the lock to factory settings, which may involve contacting Honeywell support or following specific reset instructions outlined in your manual. Remember to test each user code after programming to verify functionality and access levels.
Setting Up Auto-Locking and Other Features
Many Honeywell electronic door locks offer convenient features beyond basic locking and unlocking. Auto-locking, a popular option, automatically secures the door after a set period of inactivity. This enhances security by preventing accidental entry. To enable this feature, locate the settings menu on your lock’s keypad, often accessed through a specific sequence of button presses. The manual will guide you through the exact steps. You’ll likely be able to adjust the auto-lock timer, choosing a duration that suits your needs, ranging from a few seconds to several minutes. Some models allow you to disable auto-locking altogether if preferred. Beyond auto-locking, explore other potential features. These might include options for temporary codes, allowing guests or service personnel temporary access without granting permanent access rights. Some locks might offer a “low battery” warning, alerting you when the batteries need replacing before the lock malfunctions. Check your model’s specifications to see if it supports features such as remote unlocking capabilities via a smartphone app or integration with a home security system. Always refer to your specific model’s manual for precise instructions, as features and programming methods can vary significantly between Honeywell electronic door locks.
Troubleshooting Common Issues and Errors
Experiencing problems with your Honeywell electronic door lock? This section helps diagnose and resolve common issues. A frequent problem is incorrect user codes. Double-check for typos and ensure the correct code is entered. If the keypad is unresponsive, check the batteries. Low battery power can lead to erratic behavior or complete failure. Replace them with fresh batteries of the correct type and voltage as specified in your manual. If the lock fails to engage or retract, inspect for obstructions around the bolt mechanism. Debris or misalignment might prevent smooth operation. If the problem persists, gently try to clear any obstructions, ensuring the door is properly aligned. If the interior knob is stiff or difficult to turn, lubricating the mechanism with a small amount of silicone-based lubricant might solve the issue. If you’re encountering error messages, consult your manual’s troubleshooting section for specific codes and their meanings; These codes often provide valuable clues to the source of the problem. If the problem involves the electronic components, avoid attempting complex repairs yourself. Contacting a qualified locksmith or Honeywell customer support is recommended to prevent further damage. Remember to always prioritize safety and security; if you’re unsure about any troubleshooting steps, consult a professional.
Battery Replacement and Maintenance
Regular battery maintenance is crucial for your Honeywell electronic door lock’s optimal performance and security. Low battery power can lead to malfunctions, including failed lock engagement or unresponsive keypads. Check your lock’s manual for the specific battery type and voltage required. Typically, these locks use standard alkaline batteries. Before replacing batteries, always ensure the lock is in an unlocked state to prevent accidental locking. Locate the battery compartment, usually on the inside of the door or the lock’s interior mechanism. Carefully remove the old batteries, noting their polarity (+ and -) to ensure correct insertion of the new ones. Insert new batteries, matching the polarity markings precisely. After replacing the batteries, test the lock by locking and unlocking it several times using both the keypad and the interior knob. If the lock functions correctly, the battery replacement was successful. To maintain the longevity of your batteries, avoid extreme temperatures (both hot and cold), which can significantly reduce their lifespan. Regularly inspect the battery compartment for any corrosion or signs of leakage. Clean the compartment with a dry cloth if necessary. Prolonged exposure to moisture can damage the batteries and the lock’s internal components. Remember to replace batteries promptly once low battery warnings appear. This proactive approach will ensure consistent and reliable operation of your Honeywell electronic door lock.
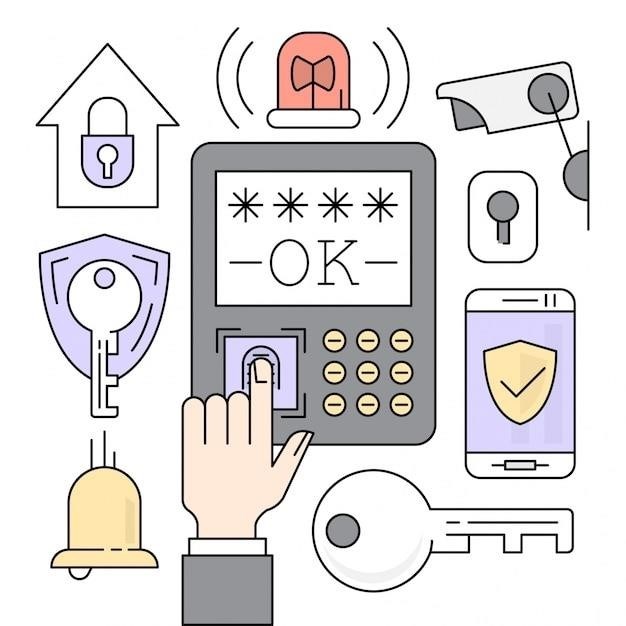
Understanding Keypad Functionality and LED Indicators
Your Honeywell electronic door lock’s keypad is the primary interface for user interaction. Familiarize yourself with its layout and functions. Most models feature numbered keys for code entry, a lock/unlock button, and potentially additional buttons for programming or managing user codes. Pay close attention to the LED indicators, usually small lights that provide feedback on the lock’s status. A flashing LED might indicate low battery power, while a solid light could signal a locked or unlocked state. Consult your specific model’s manual for a detailed explanation of the LED indicators and their meanings. The manual will describe the sequence of key presses for various functions, including code entry, programming, and potentially troubleshooting. Understanding the keypad’s functionality and interpreting the LED indicators are essential for efficient use and troubleshooting of your Honeywell electronic door lock. Incorrect code entry will typically result in a visual or audible signal, indicating an error. If you encounter persistent issues, refer to the troubleshooting section of your manual for further assistance. Mastering the keypad and interpreting the LEDs ensures smooth operation and quick resolution of any minor problems. Regularly check the keypad for any signs of damage or debris to maintain optimal functionality.
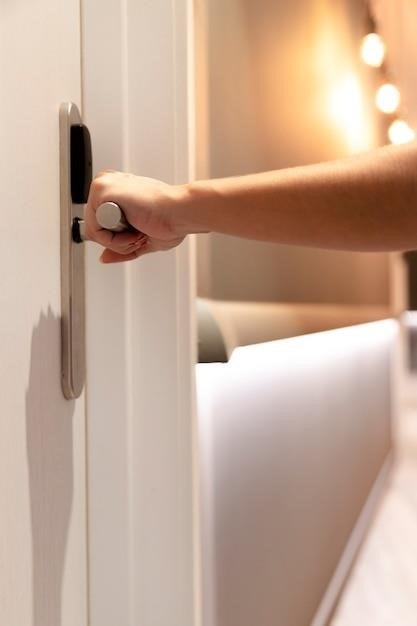
Using the Interior Knob and Keypad for Locking/Unlocking
Your Honeywell electronic door lock offers convenient locking and unlocking methods using both the interior knob and the keypad. The interior knob provides a simple manual override for locking and unlocking the door from the inside. Simply turn the knob to the locked or unlocked position, depending on your need. This is particularly useful in emergency situations or if there are issues with the electronic keypad. The keypad, on the other hand, allows for keyless entry using personalized user codes. To unlock, enter your designated code accurately and press the designated button (usually marked “Enter” or similar). To lock, typically press the lock button. Some models might automatically lock after a set period. Always refer to your specific model’s instructions for detailed guidance on keypad usage and lock/unlock procedures. The interior knob offers a mechanical backup, providing an alternative method in case of battery failure or keypad malfunction. Regularly test both the keypad and the interior knob to ensure they function correctly. Familiarize yourself with both methods to ensure smooth and uninterrupted access to your property. In the event of any malfunctions, consult your user manual for troubleshooting tips before contacting customer support.
Emergency Override Procedures
Knowing your Honeywell electronic door lock’s emergency override procedures is crucial for unexpected situations. While the specific methods vary depending on the model, understanding the general principles is essential. Battery failure is a common scenario. Most Honeywell locks incorporate a key override feature; a physical key will unlock the door in case of dead batteries. Locate the keyhole (usually hidden) and use the provided key to unlock. If you’ve forgotten your user code, or the keypad malfunctions, the key override offers immediate access. Some advanced models might have alternative emergency unlocking methods, such as using a temporary code or a specific sequence of button presses. Always consult your specific model’s instruction manual for detailed emergency override procedures. Familiarize yourself with the location of the keyhole and the steps involved. Keep the key in a secure, easily accessible place, separate from the lock itself, for emergency situations. Regularly test the key override to ensure its functionality. In case of any difficulties, contact Honeywell customer support for assistance. Understanding these procedures ensures quick access to your property in unforeseen circumstances, enhancing both safety and convenience.
Security Tips and Best Practices
Optimizing your Honeywell electronic door lock’s security involves proactive measures beyond basic operation. Regularly change your user codes, especially after a lost or stolen key event. Avoid easily guessable codes like birthdates or sequential numbers. Opt for strong, random codes that are difficult to crack. Consider using different codes for different users, granting varied access levels as needed. Keep your key(s) in a safe and secure location, away from the lock itself. Never share your codes with unauthorized individuals. Periodically inspect the lock for any signs of tampering or damage. Report any suspicious activity immediately. Ensure the door frame and door itself are sturdy, providing a strong foundation for the lock. A weak door or frame can compromise even the most secure lock. Protect the keypad from harsh weather conditions or direct sunlight, as this can affect functionality and potentially weaken security. Consider upgrading to a model with features like tamper alarms or automated locking mechanisms for enhanced security. Regularly review and update your security practices to adapt to evolving threats. By following these tips and best practices, you can maximize the protection offered by your Honeywell electronic door lock, safeguarding your property and loved ones.
Frequently Asked Questions (FAQs)
Q⁚ How do I change the batteries in my Honeywell electronic door lock? A⁚ Refer to the specific instructions in your model’s manual. Generally, you’ll need to locate the battery compartment (often on the inside of the door), remove the old batteries, and install fresh ones, matching the polarity correctly.
Q⁚ What should I do if my keypad isn’t responding? A⁚ Check the batteries first. If the batteries are fine, ensure the keypad isn’t obstructed by dirt or debris. If the problem persists, consult the troubleshooting section of your manual or contact Honeywell customer support.
Q⁚ How many user codes can I program? A⁚ The number of programmable user codes varies depending on the specific Honeywell model. Check your user manual for the exact capacity of your lock.
Q⁚ My lock is making unusual noises. What could be causing this? A⁚ Unusual noises may indicate a problem with the locking mechanism. Inspect the lock for any obstructions or damage. If the issue persists, contact Honeywell for assistance.
Q⁚ Can I reprogram my lock if I forget my codes? A⁚ Most Honeywell locks have a procedure for resetting or reprogramming. Refer to your manual for the specific steps. Failure to follow the instructions correctly might result in the need for professional assistance or even lock replacement.
Contacting Honeywell Customer Support
If you encounter any issues with your Honeywell electronic door lock that you cannot resolve using this manual, contacting Honeywell’s customer support is recommended. They offer various support channels to assist you with troubleshooting, repairs, or replacement parts. Before contacting support, gather relevant information such as your lock’s model number, serial number (if applicable), and a clear description of the problem you are experiencing; This will help expedite the resolution process.
You can typically find Honeywell’s customer support contact information on their official website. Look for a dedicated support section or FAQ page, which usually includes phone numbers, email addresses, or online chat options. Alternatively, the warranty information accompanying your lock may also list contact details for customer support. Be prepared to provide proof of purchase, such as your receipt or invoice, when contacting customer support for warranty-related issues. Remember to be polite and concise in your communication to ensure a prompt and effective response from Honeywell’s support team.